
Step 1: Open Property Settings
- Click the Settings (Gear) icon in the upper-right corner of HubSpot.
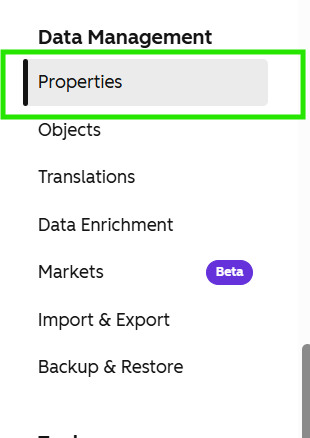
- Under Data Management in the left navigation menu, select Properties.

Step 2: Update Contact Properties
- Ensure the Object Type dropdown is set to Contact Properties.

- Add the new community option to the following properties:
Step 3: Update Deal Properties
- Change the Object Type dropdown to Deal Properties.

-
Add the new community option to the following property:
Step 4: Update Purchase Properties
- Change the Object Type dropdown to Purchase Properties.

-
Add the new community option to the following property:
Important: Internal Value Requirements
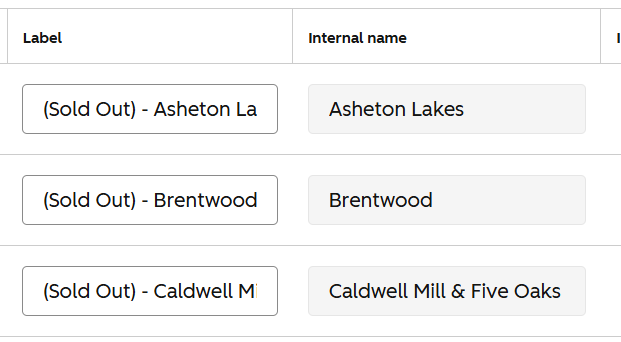
⚠️ The Internal Value must exactly match the Community Name in Kova.
- Internal Values are used by workflows, integrations, and automation.
- Labels are user-facing and may be customized as needed.
- Any mismatch between the HubSpot Internal Value and the Kova community name can result in automation failures.
Step 5: Update Business Unit Assignment Workflows
After adding the community to all required properties, update the following workflows:
Contact Workflow
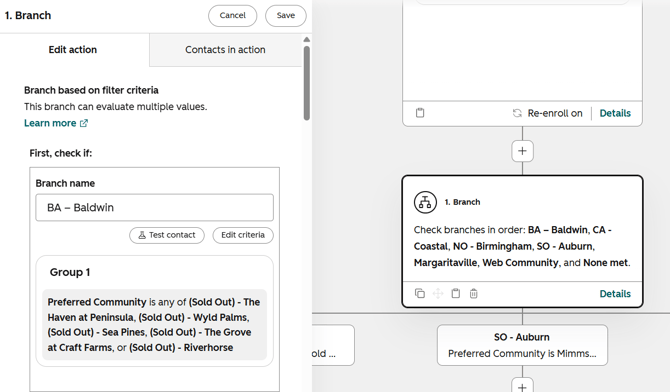
[CRM] Community Sets Business Unit
Add the new community to the appropriate branch so the correct Business Unit is assigned.
Deal Workflow
[DEAL] Community Sets Business Unit
Add the new community to the appropriate branch so the correct Business Unit is assigned.
Need Help?
If you encounter any issues or have questions while adding a new community, please reach out to the Clayton HubSpot Services team. We're happy to provide guidance, answer questions, and support you throughout the process. Please let us know how we can help.